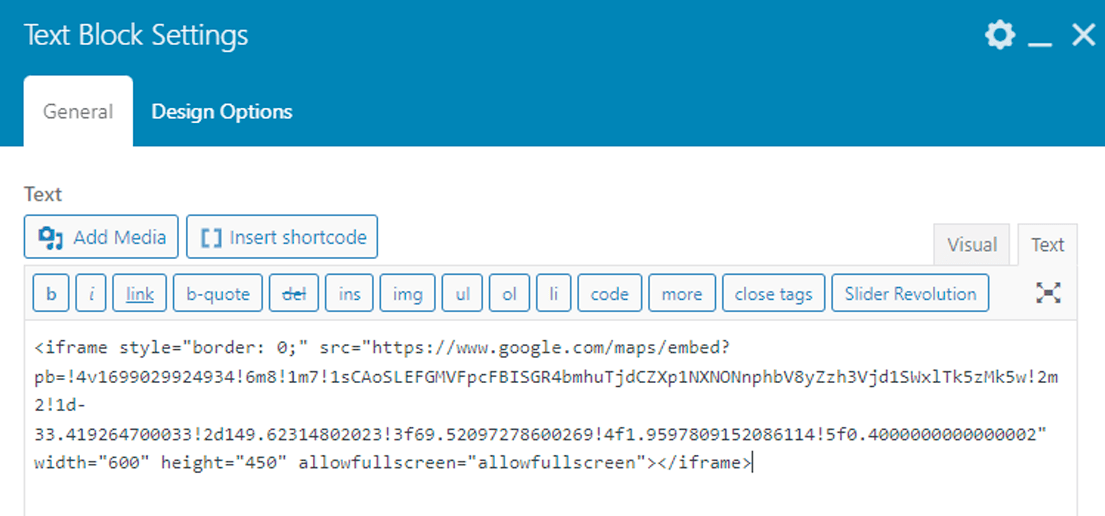
Step 1: Go to Google Maps and search for your business by name, then select your listing.
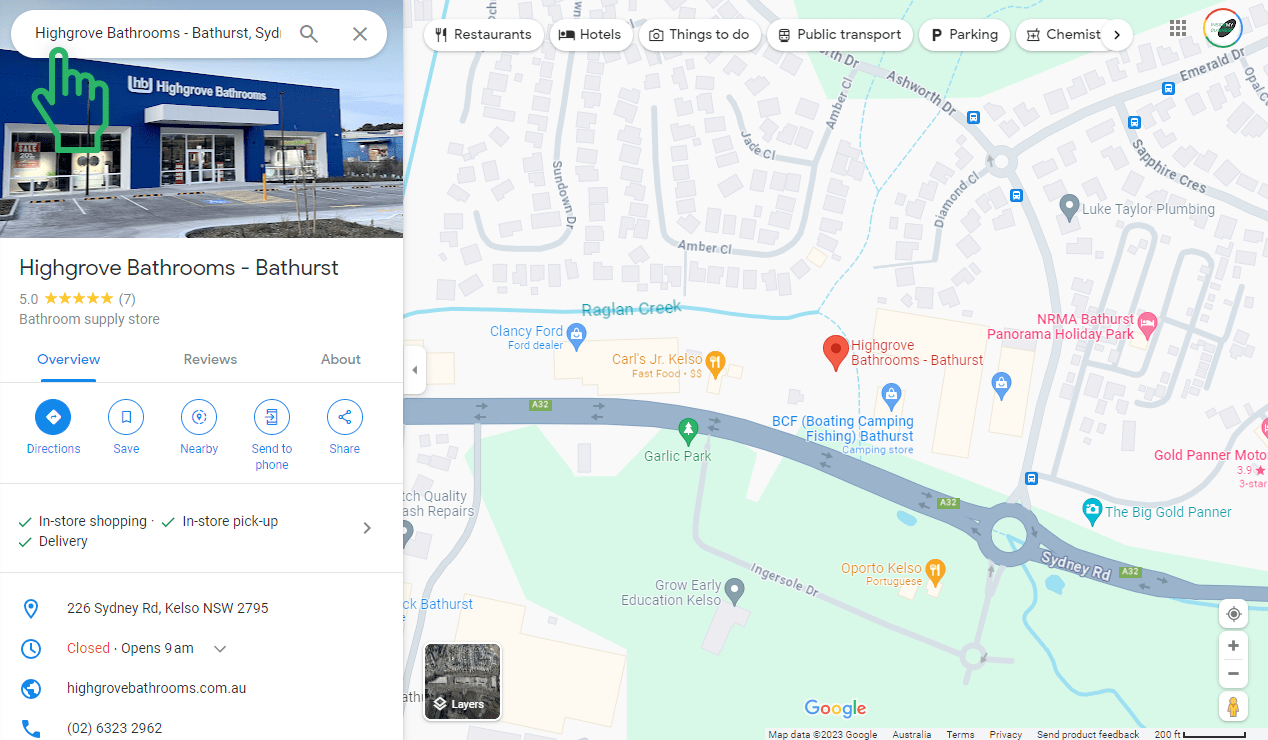
Step 2: Click on the main header image to view listing photos.
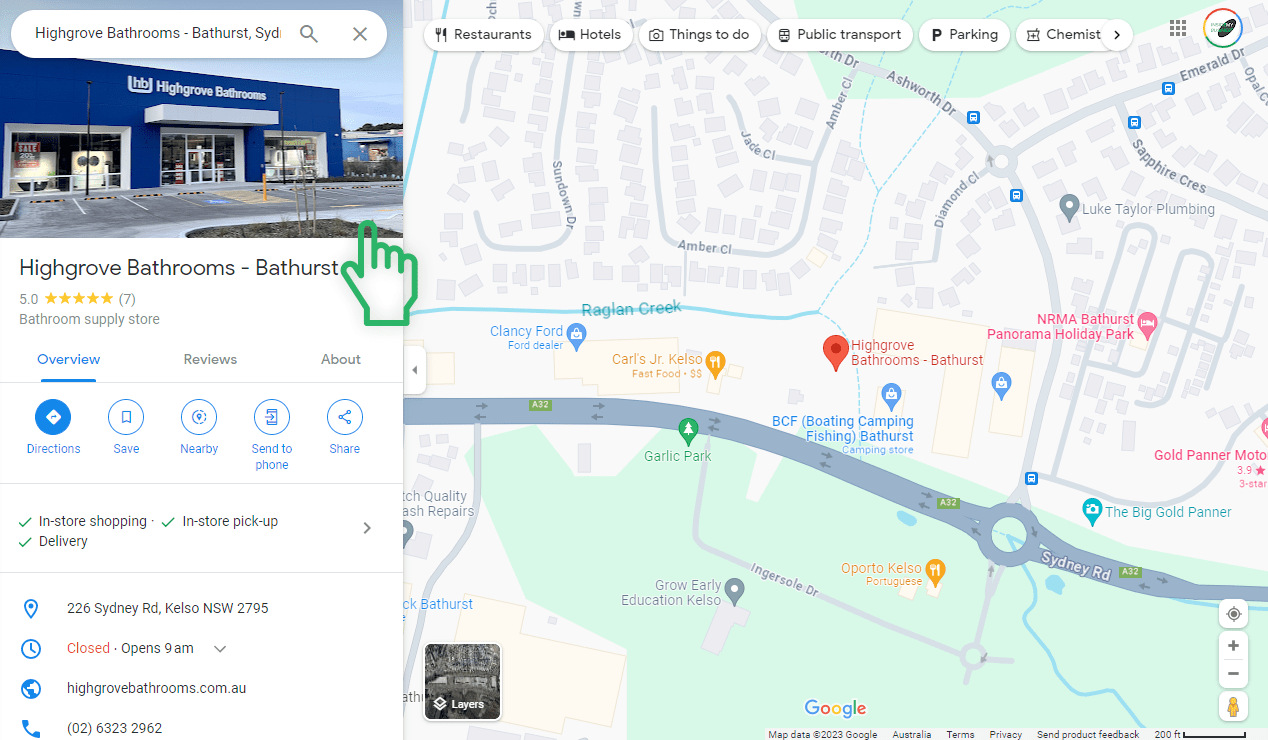
Pro Tip: You can quickly find all 360° photos by selecting the ‘Street View & 360’ tab/filter.
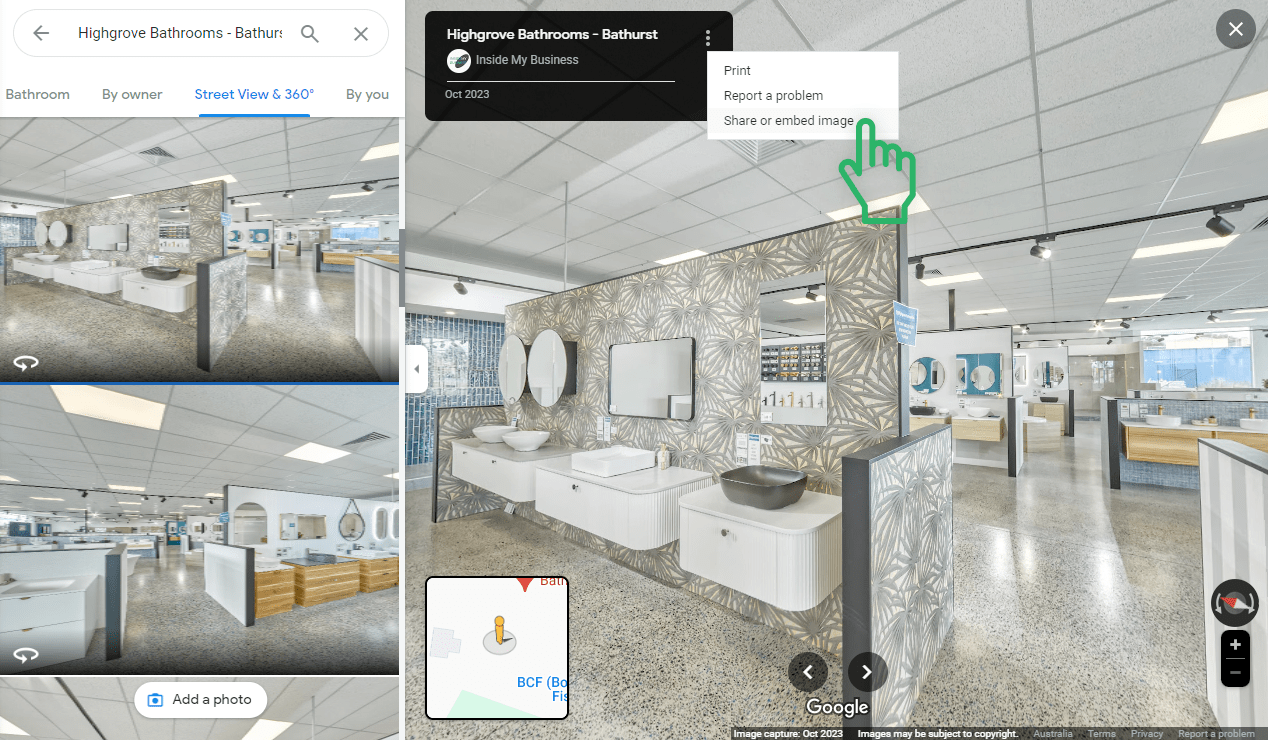
Step 3: Click on a 360° photo from your tour to launch it, then navigate to the point where you want your tour to begin once embedded, you can choose any angle (point-of-view) and position within the tour you like!
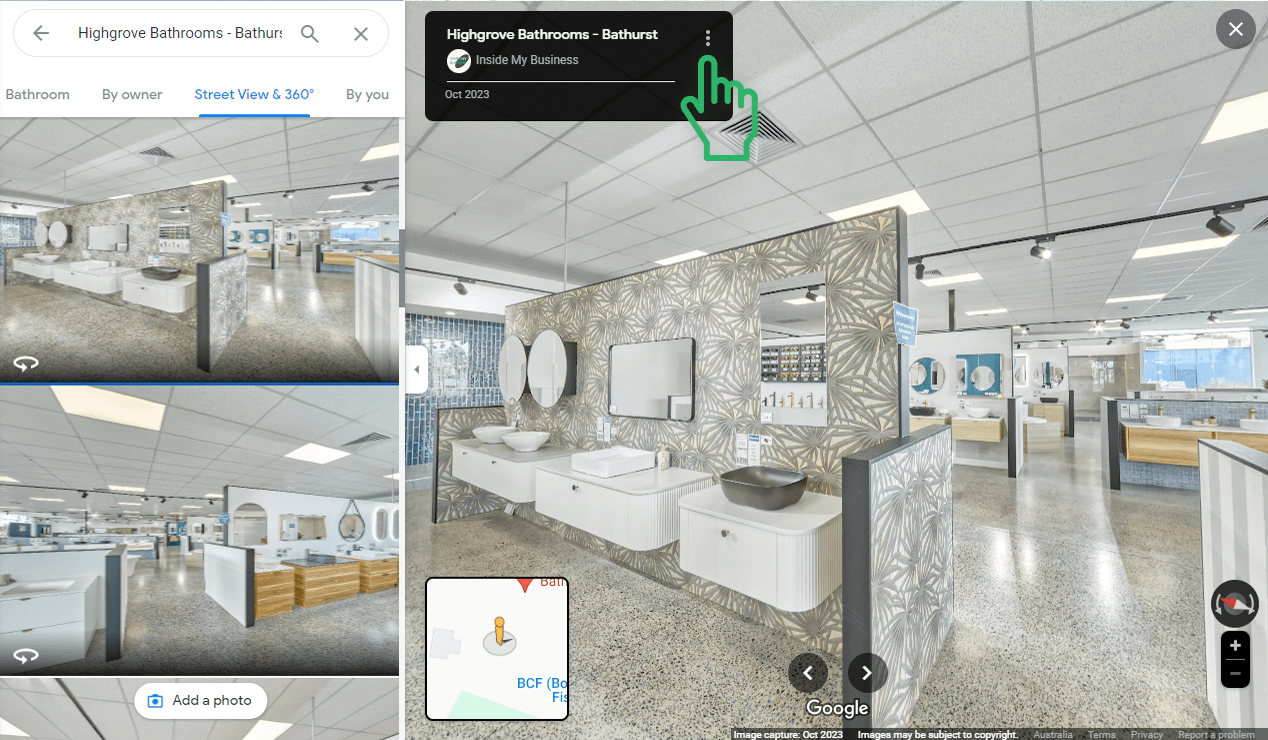
Step 4: Select the ‘Share or Embed Image’ option.
Step 5: If you need the tour to be an exact size to fit a specific area, click on the code to edit it, adjust the height= and width= parameters accordingly, then copy the iframe embedding code.
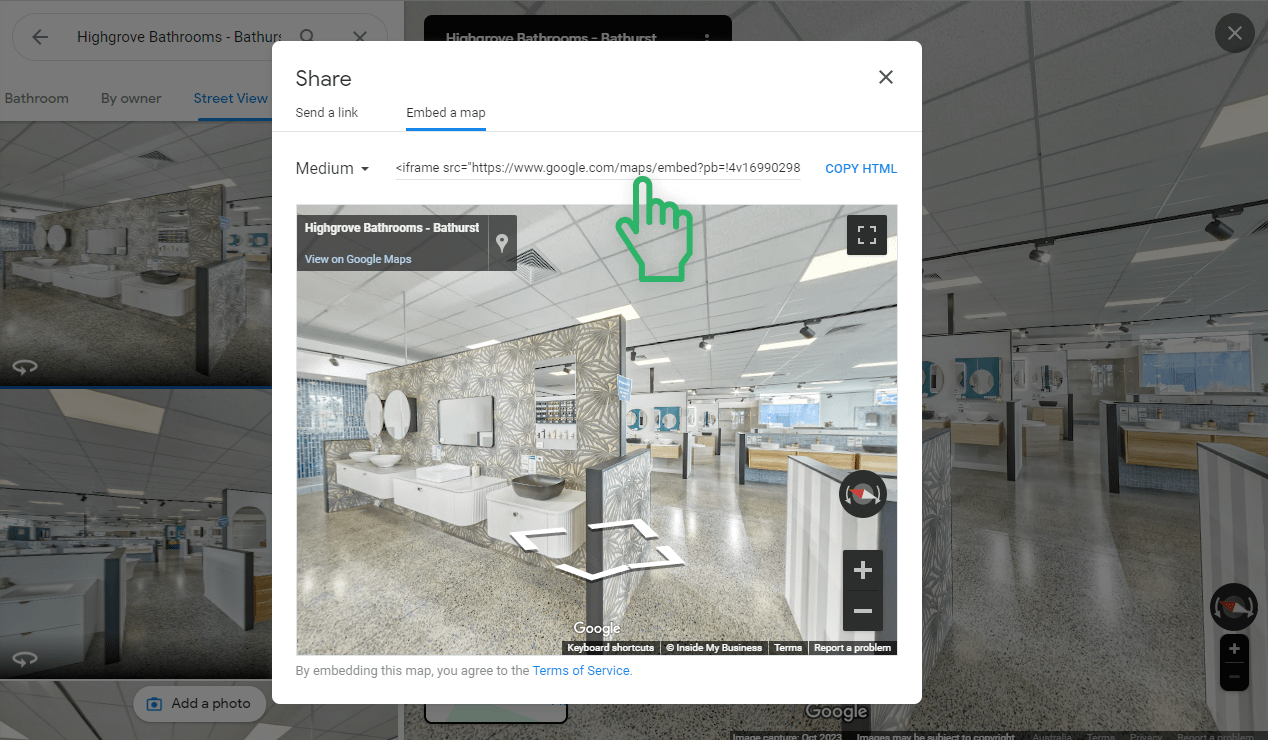
Step 6: Paste this embedding code into the HTML of the webpage you would like your virtual tour to be shown on, then simply save and update, or publish the page.
Pro Tip: Consider creating and using a responsive embed (or iframe) code for best practices using a tool like Embed Responsibly.
